


Datum Lines: To be able to create this house on Revit datum lines are used to give guidance to where all the walls needed to be placed. The datums lines were placed 3200 and 3300 apart as shown in the picture above. All of the tools that are used are featured in the top photo.
All the rest of the tools are found under the architecture tab at the top of the Revit window.
Walls: Adding the walls in was easy as the datum lines had set out where each wall needed to be placed although changing the thickness of the outside wall was a little more difficult as you had to create a separate layer for each material.
Doors and Windows: Adding in the doors and windows is where the program became a little more tricky as you had to load in new families either from the computer or the internet. Once all the families were loaded in, it was just a matter of placing them in.
Floors: Making the floors were simple as they were just two solids placed over the top of each other. The top solid was divided into two sections; floor one and floor two. When applying materials to the floor sometimes the material that was needed were not already made, so I had to make them myself. This was challenging as I had no idea on how to make a new material. I soon figured out that I had to copy a new material and changed the properties.
Furniture: When it came time to adding the furniture it was easy as I now knew how to add in families and the best way to find the furniture that I was looking for. A custom piece of furniture was also made from scratch. This custom piece of furniture can be found in the Revit Assignment tab at the bottom of the page.
Dimensioning and Annotating: The second last stage is the dimensioning and annotating. It is straight forward as you click the spots that you want to dimension and it appears or add a text box and type.
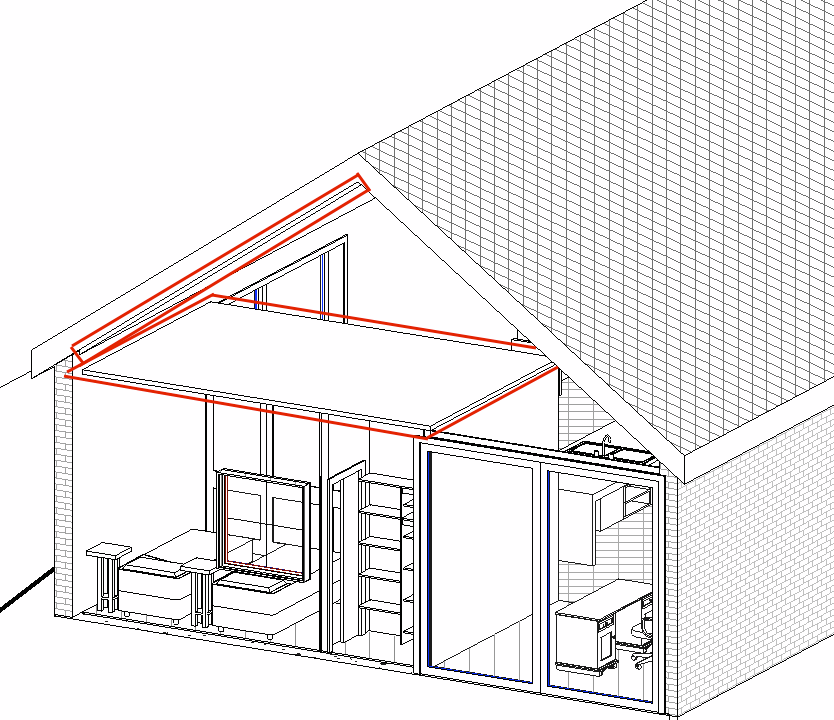
Roof and Ceiling: Creating the roof was fairly simple as the area of the roof is selected then the pitch of the roof is changed by defining the slope. To get the overhang there is a box at the top of the window where you type how much overhang is wanted. When everything was how I wanted it I confirmed it by clicking the tick. The ceiling was a little tricker
All the rest of the tools are found under the architecture tab at the top of the Revit window.
Walls: Adding the walls in was easy as the datum lines had set out where each wall needed to be placed although changing the thickness of the outside wall was a little more difficult as you had to create a separate layer for each material.
Doors and Windows: Adding in the doors and windows is where the program became a little more tricky as you had to load in new families either from the computer or the internet. Once all the families were loaded in, it was just a matter of placing them in.
Floors: Making the floors were simple as they were just two solids placed over the top of each other. The top solid was divided into two sections; floor one and floor two. When applying materials to the floor sometimes the material that was needed were not already made, so I had to make them myself. This was challenging as I had no idea on how to make a new material. I soon figured out that I had to copy a new material and changed the properties.
Furniture: When it came time to adding the furniture it was easy as I now knew how to add in families and the best way to find the furniture that I was looking for. A custom piece of furniture was also made from scratch. This custom piece of furniture can be found in the Revit Assignment tab at the bottom of the page.
Dimensioning and Annotating: The second last stage is the dimensioning and annotating. It is straight forward as you click the spots that you want to dimension and it appears or add a text box and type.
Roof and Ceiling: Creating the roof was fairly simple as the area of the roof is selected then the pitch of the roof is changed by defining the slope. To get the overhang there is a box at the top of the window where you type how much overhang is wanted. When everything was how I wanted it I confirmed it by clicking the tick. The ceiling was a little tricker
