Workshop 1


This workshop gave me the basic understanding of how to open a new working file, learning the workspace by using different tools, to create different shapes and navigating around the 3D space. When completing the workshop, it required me to draw using the top, front and side perspectives and then how it all comes together in 3D perspective. As I have only just started using Microstation V8i, it is still a little hard to use the program and know where all the tools are.
Workshop 2


Workshop 2 was all about learning to use the copy tool, modelling whilst in ACS control, creating layers and controlling movements paths with the ACS. Starting this workshop I used the slab tool which had already been used in workshop 1 to create a column. I then used the copy tool to create 11 more columns. The next step was to create the beam that sits on top of the columns, then copy it across so all of the columns have a beam resting on top of them. Once the bottom structure was created it was just a matter of copying it on top of itseld. This workshop was a bit easier to understand as I am becoming more familiar with Microstation V8i.
Workshop 3


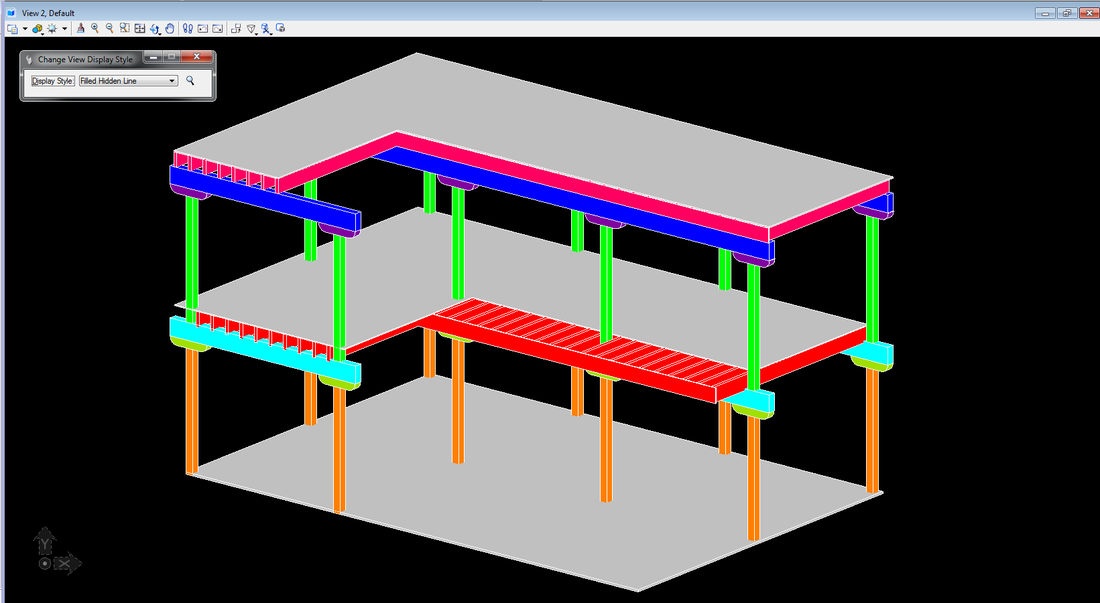
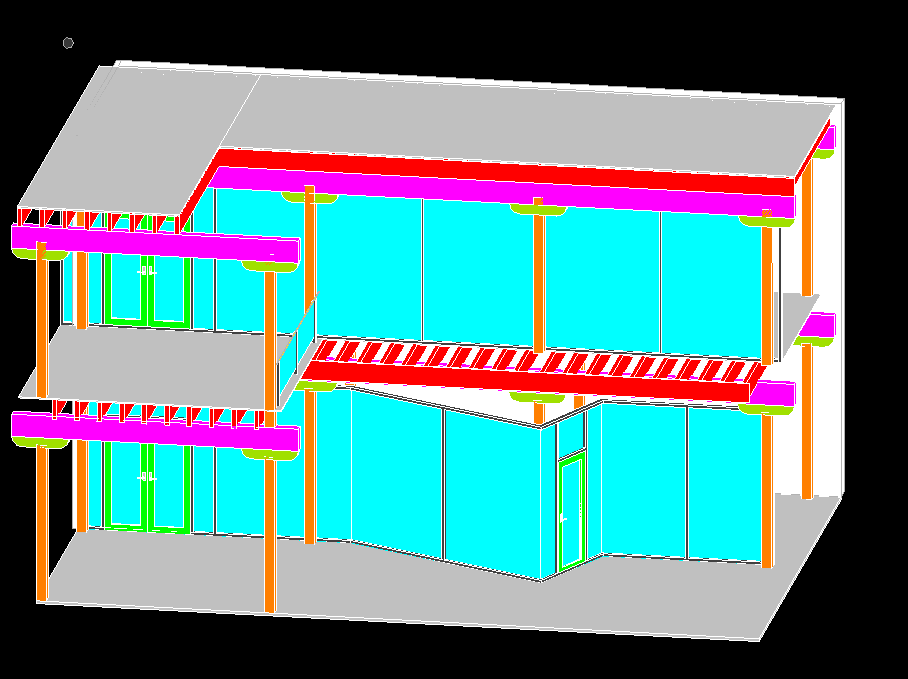
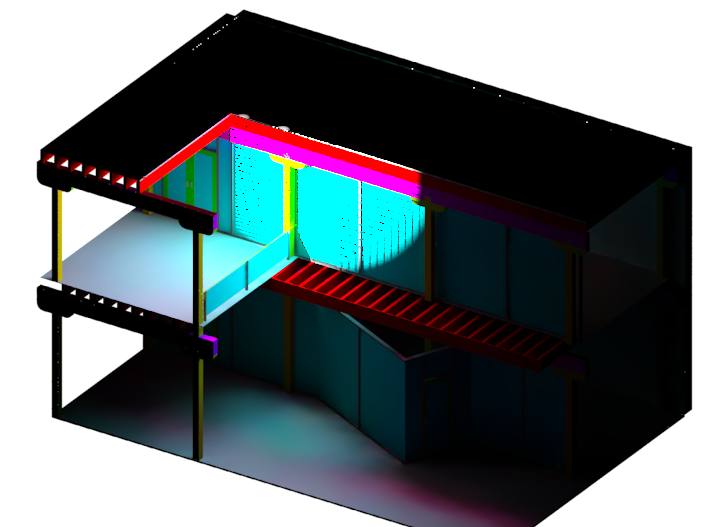
Workshop 3 was all about delvioping skills is deleting and removing objects, solid modification by faces, subtracting an object from another, filleting corners to rounded objects and understanding keyboard shortcuts. As shown in the images above, I created beam supports, joists that rest over the top of the beams and flooring to sit on top of the joists. Creating the beam supports I was able to get an understanding of how to use the fillet tool. As the beam supports stuck out over the beams the modify solid entity tool was used on the side of the beam which lengthens and shortens the face that is selected. The joists were really easy to create as it was the slab tool to make the shape and then copying them to where they needed to go. Adding the flooring was also really easy as it to was just two slabs joined together. This workshop has further expanded my knowledge on how to use Microstation V8i and I am becoming more confident and faster using it.
Workshop 4


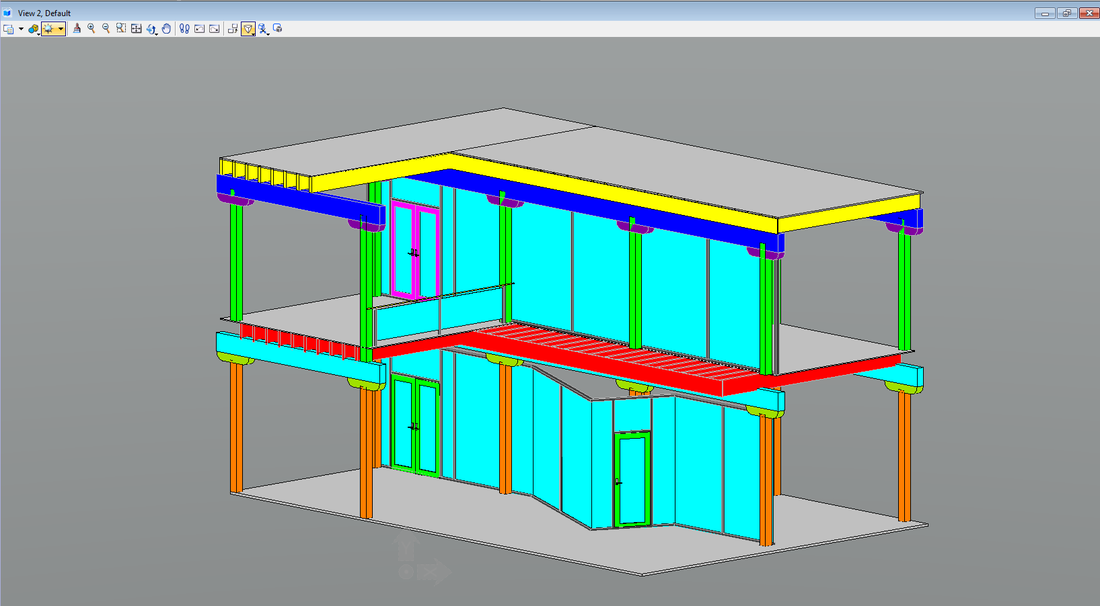
In workshop 4 I learnt how to create the window frames and glazing as well as adding in doors to complete the structure. The window frame was the hardest part in this workshop as it required me to make create lines and join them all together. In this workshop I learnt how to draw lines, rotate objects, combine solids together as a single items and develop on modelling lines and surfaces. Adding the doors into the space was really easy and as I was quite familiar with how the rotate tool works, it was easy to put it on the angle.
Workshop 5
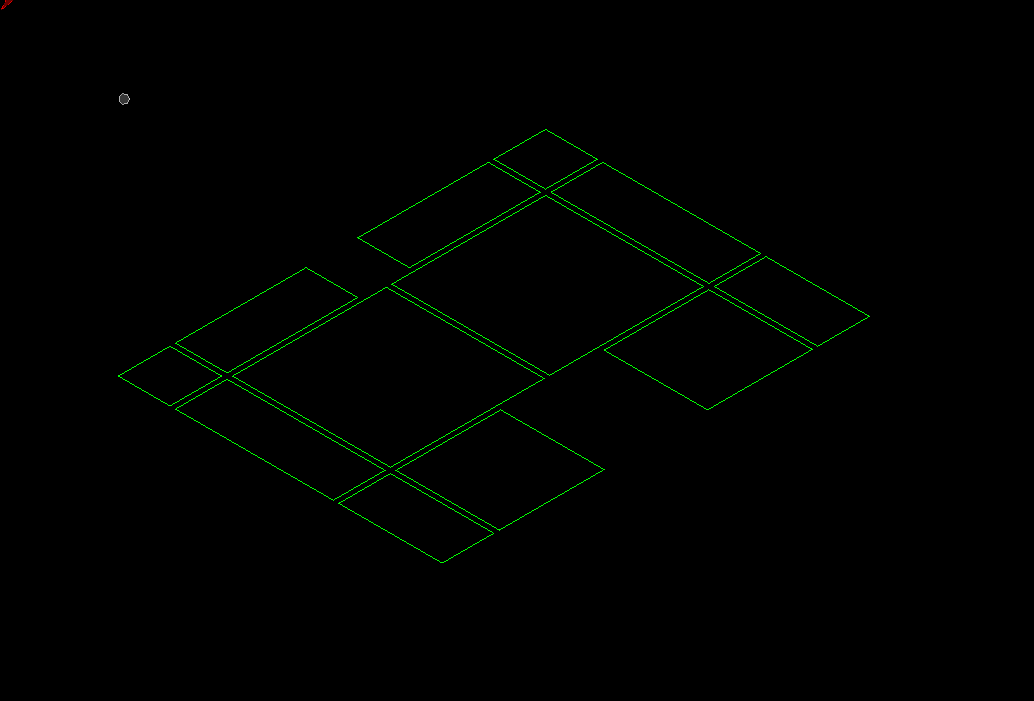


Workshop 5 was testing on how my skills have developed using Microstation V8i and how much of the workshop I could complete in a timed situation. Unfortunately I was unable to finish the whole workshop although I did manage to get a fair bit of it done. The cube was defiantly the hardest part of this workshop as I had to make individual blocks and then copy them to make the bigger cube.
Workshop 6
Changing and saving views


To change between views I clicked on the button at the top of the page as seen in the first photos above. The drop down menu appeared and I chose which view I wanted. Extra wide view, normal view and telephone camera view are 3 examples of the views that can be chosen. To save a view I clicked the button which a picture of a mountain which opens up a new window. I then clicked on the two hands which took a screenshot of the view that was currently on the page. A new window opens up where I gave it a name and if needed a description of what the view looked like. To have a look at my saved views, all I do is click on the mountain button and they are listed in the window that opens up.
Rendering

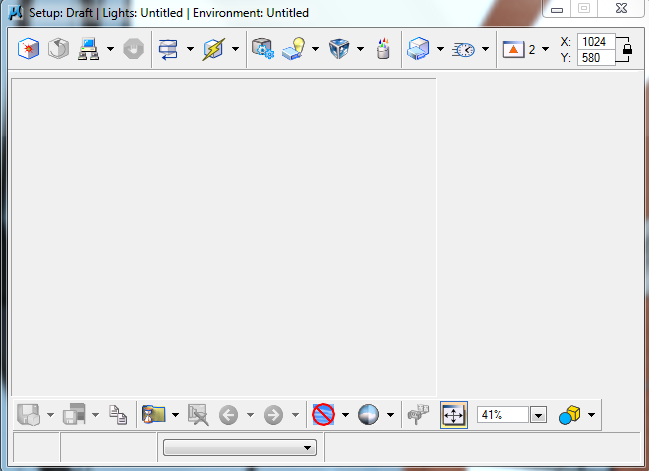


Rendering was a fairly straight forward process. To render I clicked on the button Q1 in the top photo above, which his opens up another window, where I clicked on the left hand top corner square button, which renders the view that is on the screen. The most difficult aspect to rendering is the lighting as you can change light, time of day and lux levels ect. Therefore finding the right balance between them all to get the most realistic look was hard. The only thing bad about rendering was how time consuming it is. To complete a high quality render it could take hours.
Workshop 7
Applying Materials


Applying materials to the model was quite easy to understand. It was a matter of loading the new palettes in, then copying and pasting the required materials over to a new palette. Once all the materials were loaded in and the ones not needed were unloaded, it was as simple as choosing the material and then clicking on the model where I wanted each material. By using the button at the top of the left hand corner, the same material was applied to everything in the same colour to the colour that was clicked.
Rendering with Materials


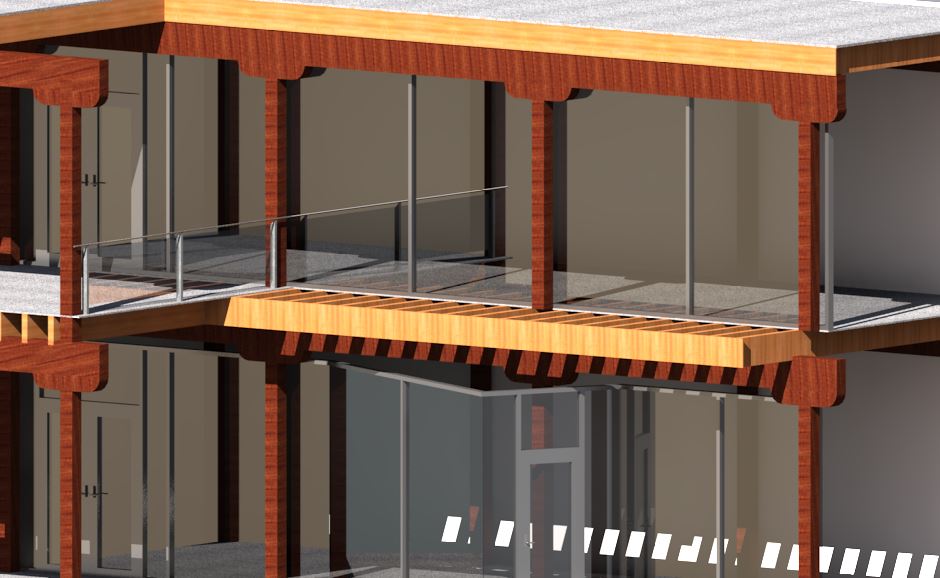


Rendering with materials is the same process as rendering shown in workshop 6. The hardest part about rendering with materials is trying to make the building look as realistic as possible as it can be compared to the real life building that I was modelling.
Now having completed all of the workshops for Microstation V8i, I have a great understanding of how to use it. The program definitely became a lot easier to use which I knew it would. I have enjoyed using Microstation V8i and believe that it is a valuable skill to have developed that can be used again.
